the
SLOSH BOX multi parasite step by step
how to power many PARASITES from
a single supply
click
image to view larger
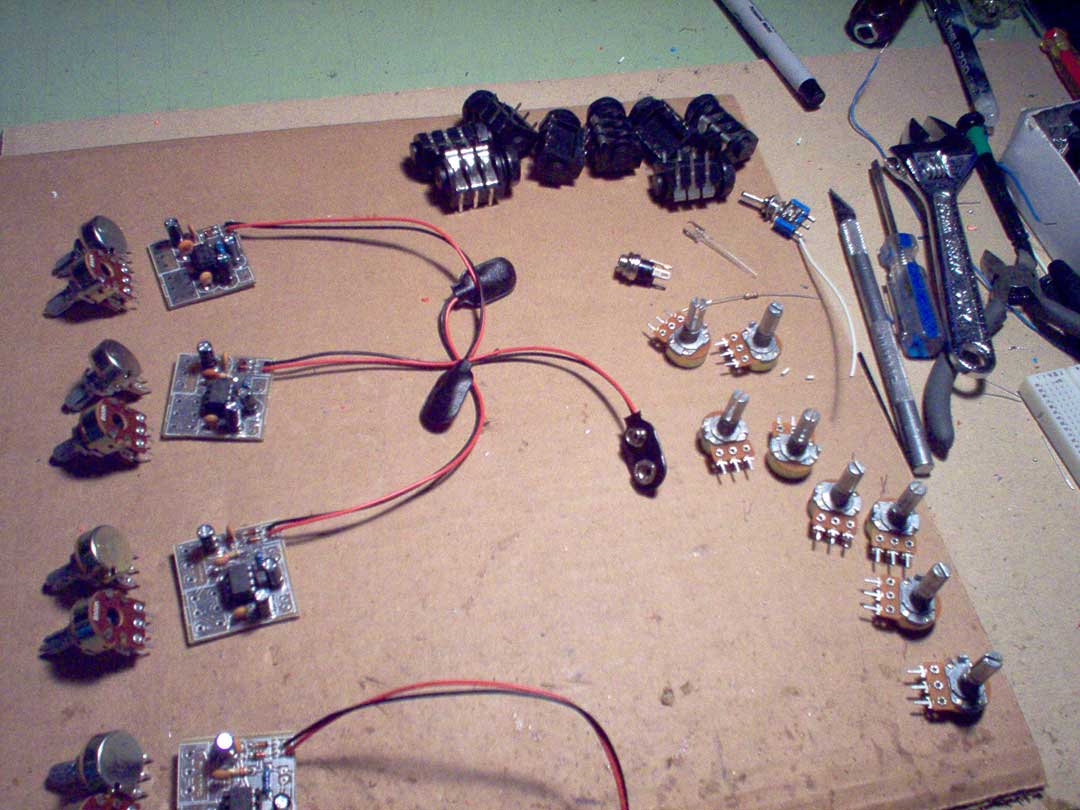
i've been meaning to build a quad filter box for a
while now so i decided to use it as an excuse to do
a parasite tutorial. i started out by collecting all
of the parts and laying everything out.
click image to
view larger
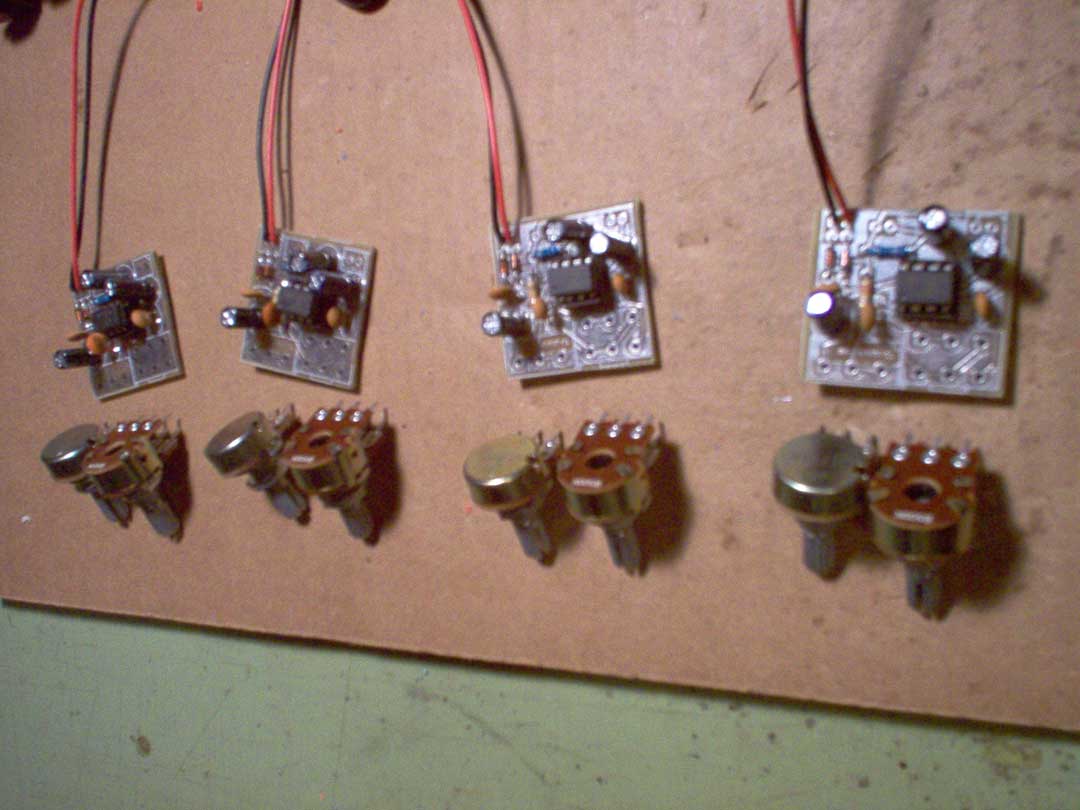
here you see each of the four drench
PS's and their pots.
click image to
view larger
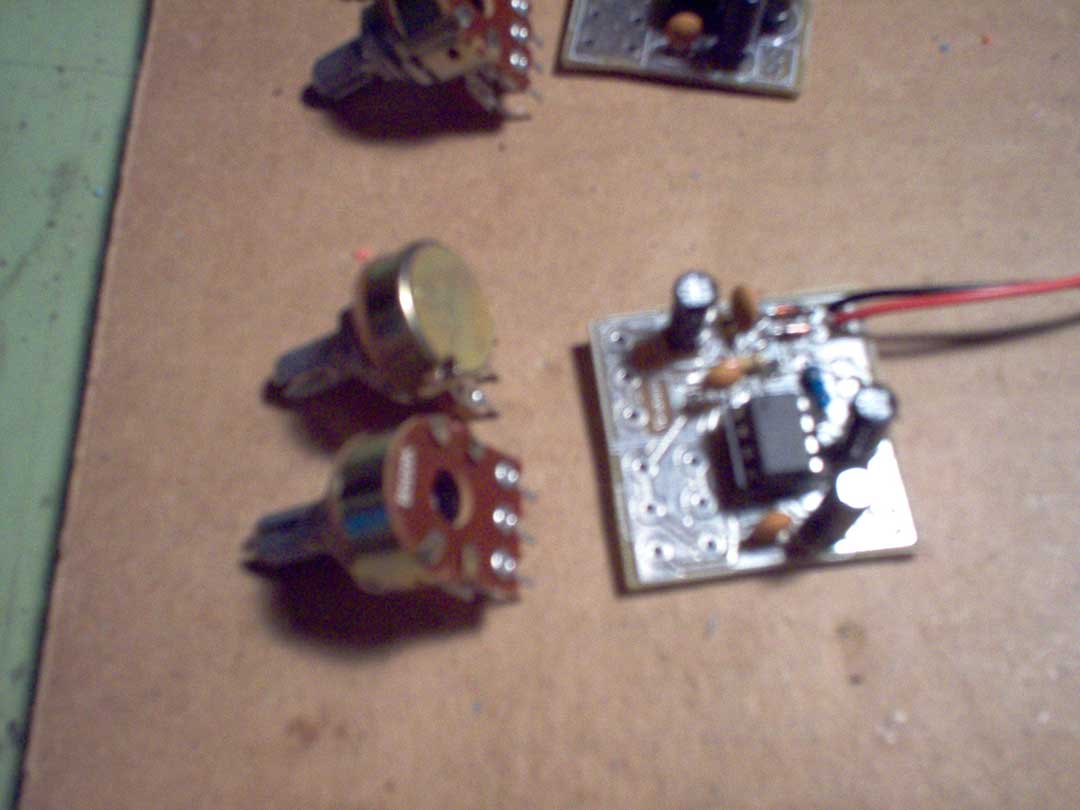
the cutoff ( larger dual pot ), is the only one that
will be pcb mounted this time. there was enough space in the
case to spread the controls out a little bit and move
the res pot. so that will be attached using two wires
as shown below.
click image to
view larger
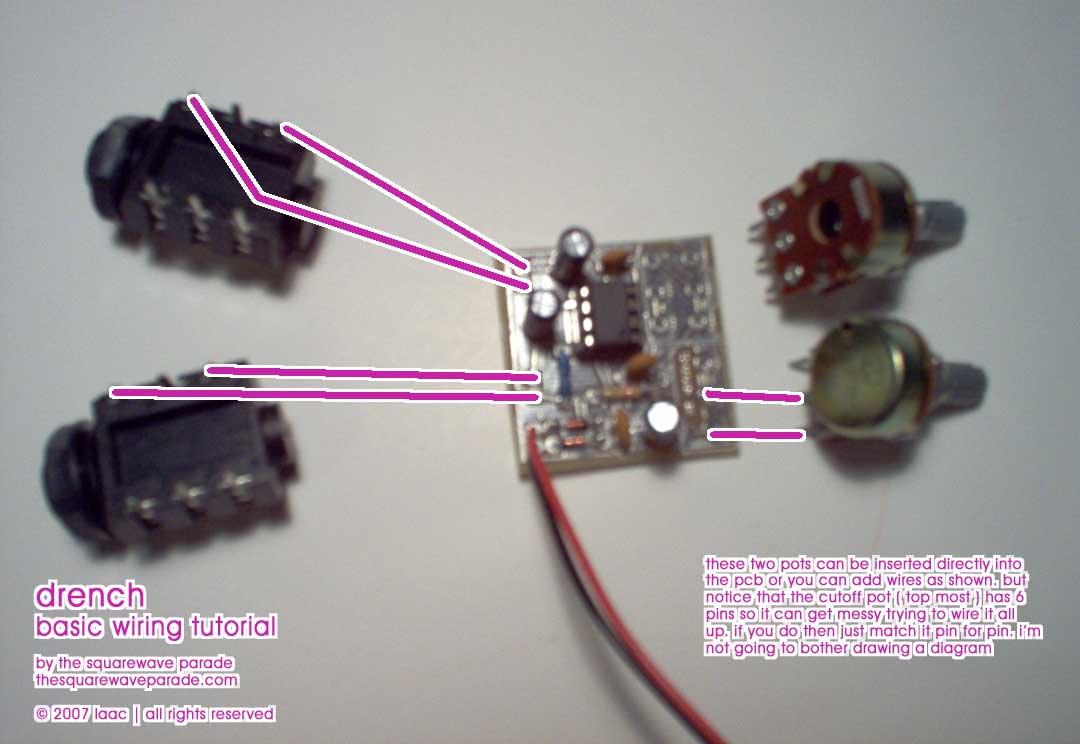
this is basic drench wiring diagram, its very simple
as you can see. diagrams for the rest of the parasites
can be found HERE and it's
instructional pdf can be found HERE
click image to
view larger
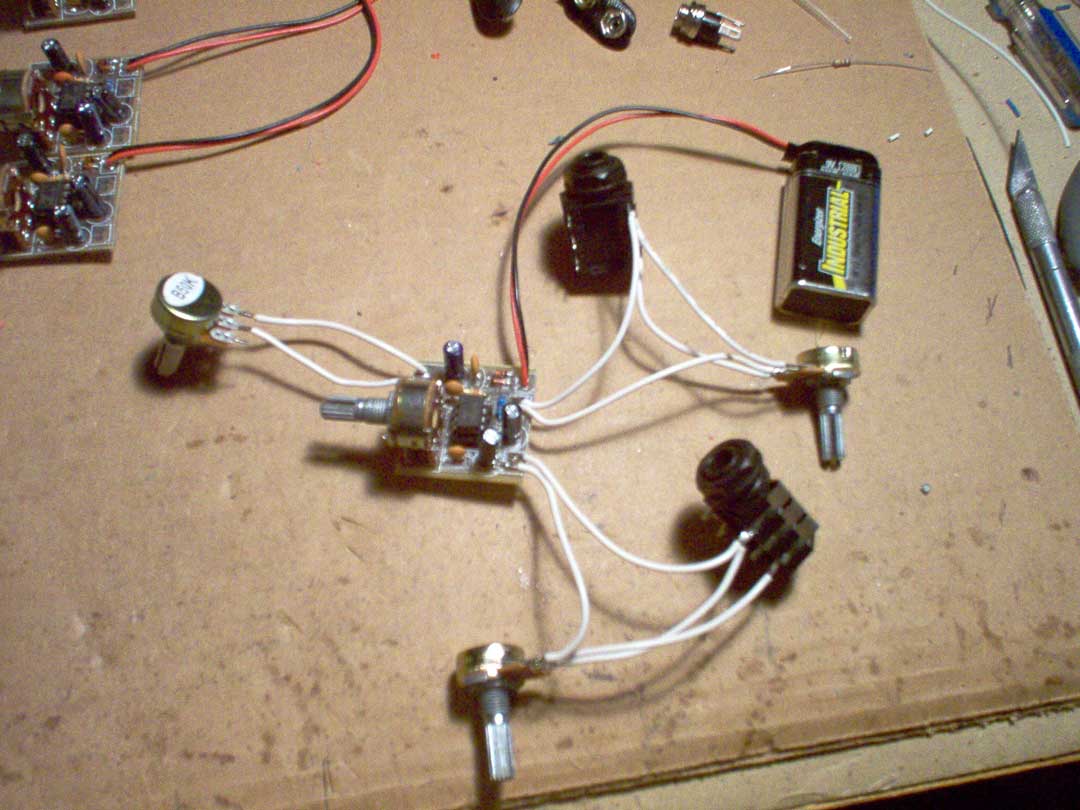
this is what a single drench looks like
after wiring it up using the above diagram. i also
added passive input and output volume pots to allow
for more control and tested each one to make sure they
worked.
click image to
view larger
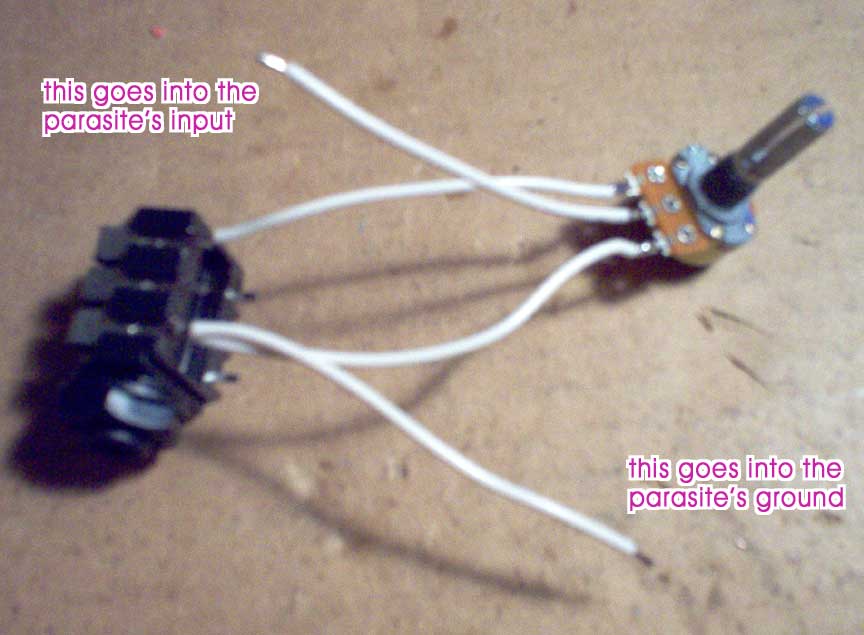
this is the basic input volume pot wiring.
i try and use a 100k or larger pot if i can to make
the response smoother and not mess with any impedance stages - also found HERE
click image to
view larger
and this is the basic output volume pot
wiring. i try and use a 10k or larger pot if i can again
to make
the response smooth and not mess with any impedance stages - also found HERE
click image to
view larger
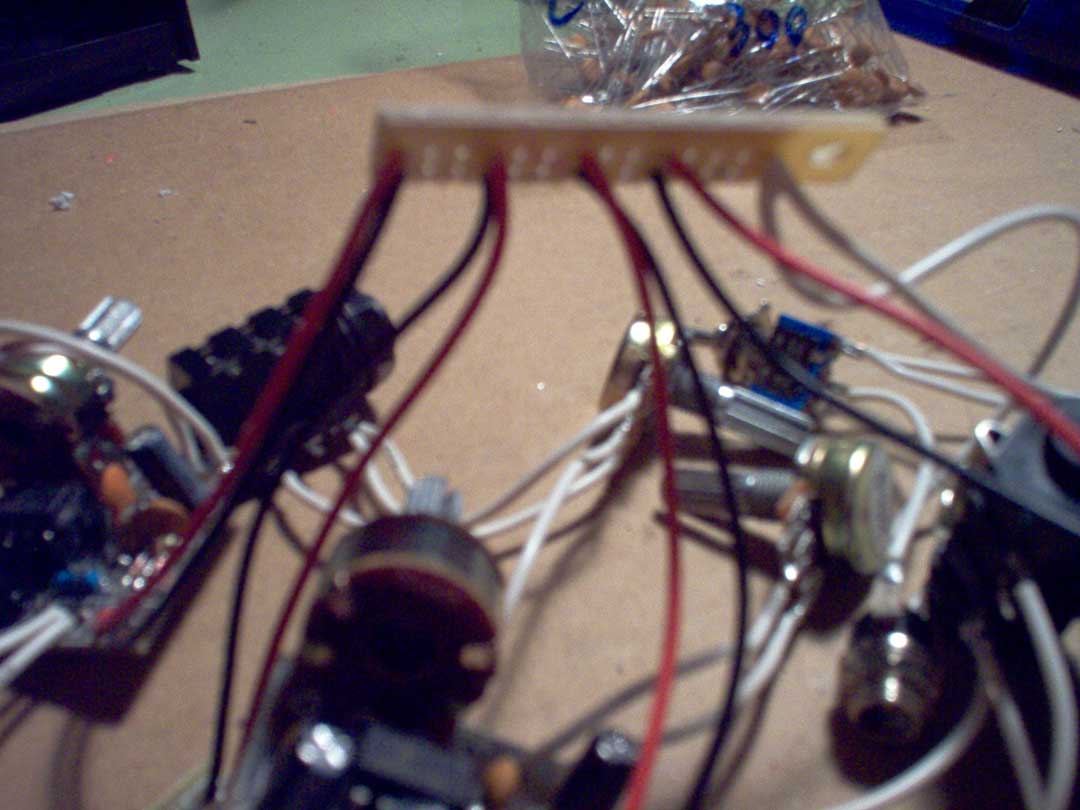
then the power wires from each PS get wired together.
to keep things clean and simple i just cut a little
bit of strip board and snipped the ends of the 9v battery
clips off and soldered them all to two strips of the
board. positive to positive and ground to ground
click image to
view larger
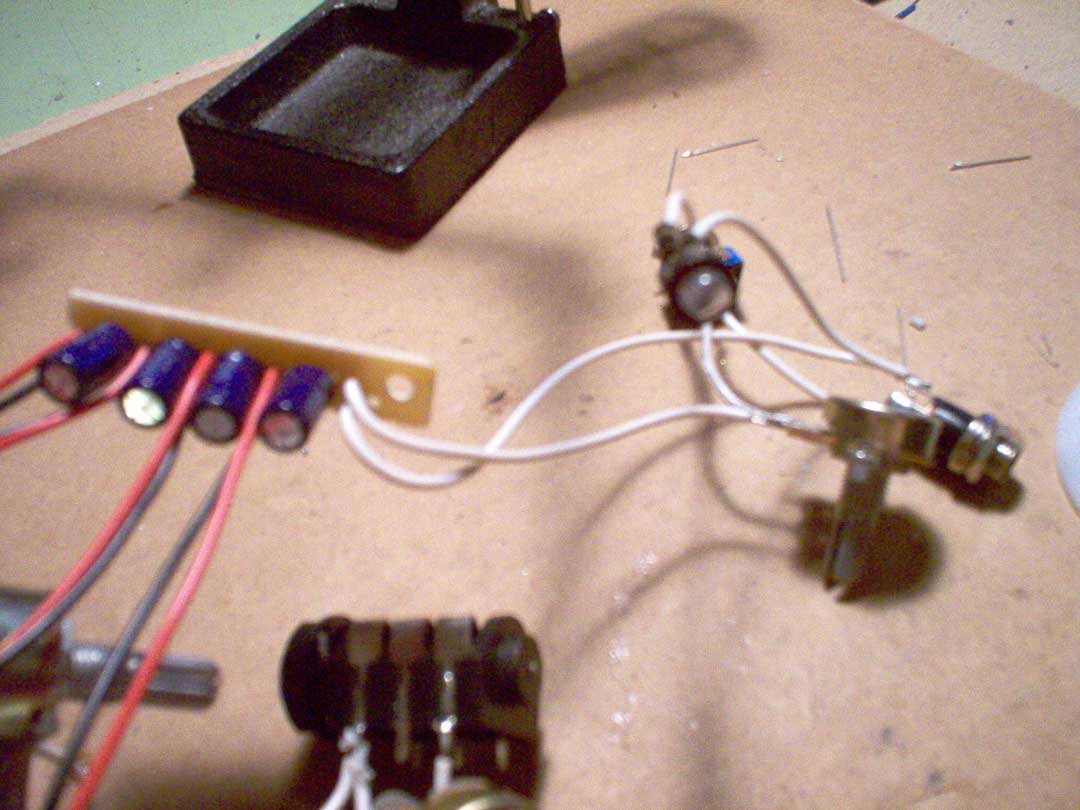
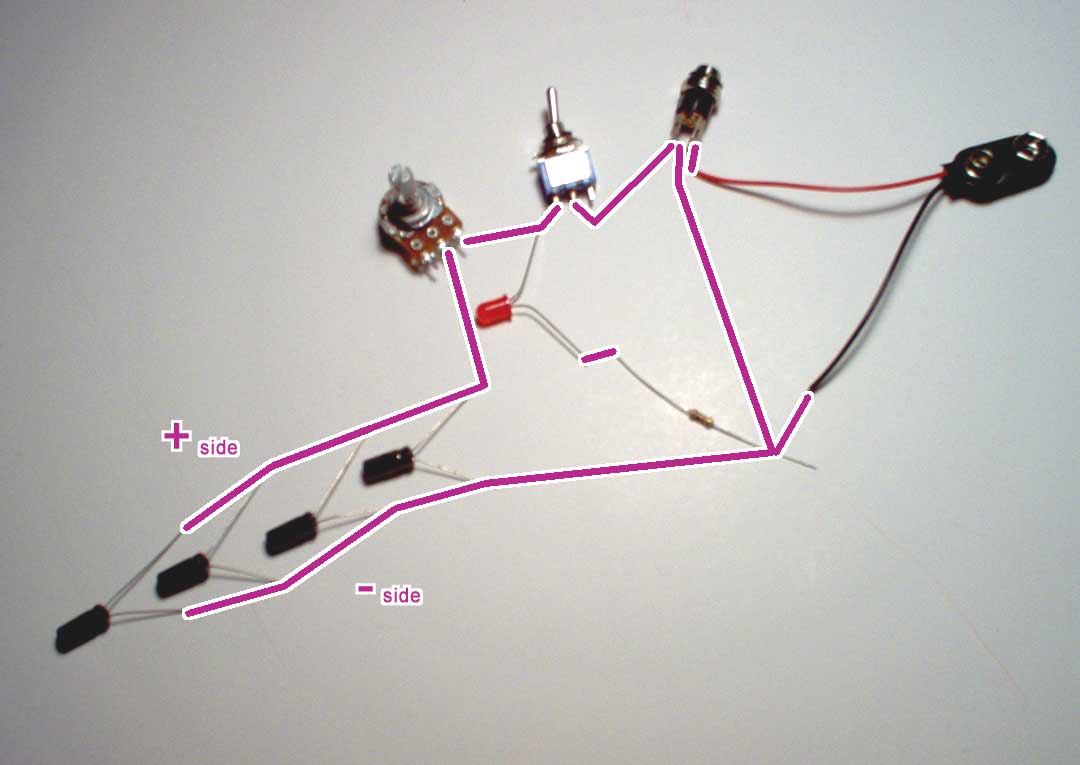
then just to over do things i added some smoothing
caps between the positives going to ground but this
is not really necessary because each PS already has
this onboard. it never hurts to take steps to keep
your supply clean and smooth though. i think these were 33uf because
they were handy but any large value caps will do.
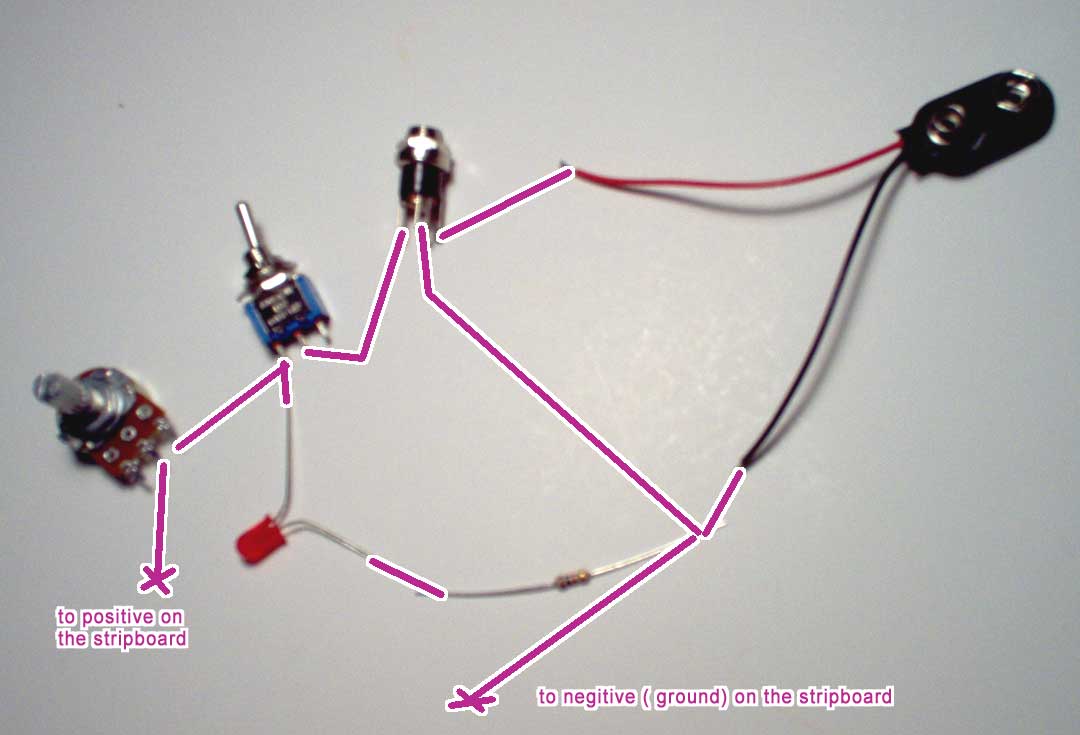
you can also make out the led, starve pot, the power
switch is behind the led, and the 2.1mm power jack
on the right side of the image. i probably should have
made this more clear so i did the next couple of diagrams
to explain.
click image to
view larger
from the power jack you have your ground ( center
pin ) which goes to the black ( negative or ground – same
thing here ) wires on the power distro board and the
black battery lead. then the positive ( sleeve ) of
the jack goes straight to the switch so you can turn
it all off. then the LED comes off of the other side
of the switch then to a small resistor, in this case
a 2k is working well, and then that goes straight to ground so the
LED tells you when its turned on and off. and then
from the LED side of the toggle you connect pin 1 of
the 10k starve pot and then pin 2 goes straight to
the positive side of the board.
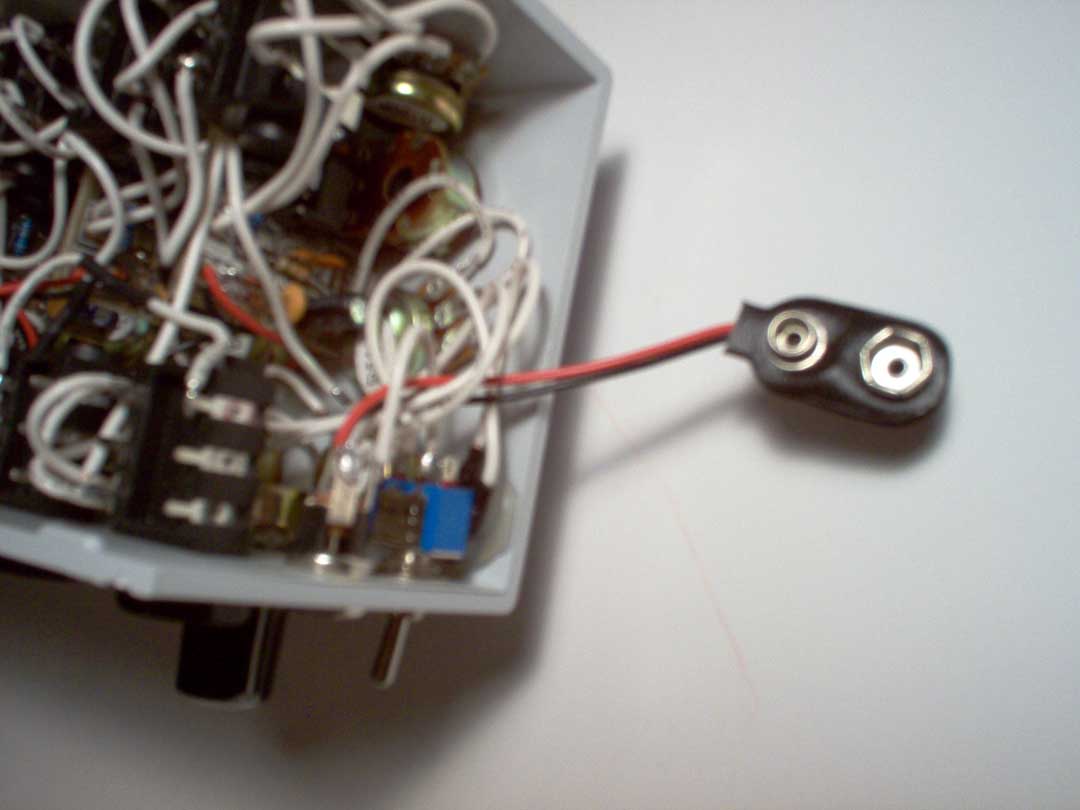
the 9v battery clip is connected to the switching
input of the power jack. if you didn't know some power
jacks have a little switching mechanism inside so that
you can have the battery run directly threw it and
then when you insert the wall plug in it then it switches the
positive battery out and uses the wall supply to keep
from draining the battery too. each datasheet for the
different jacks available should let you know which pins
to use to accomplish this
click image to
view larger
just in case you are wondering here is a diagram of
the filter caps. each drench's power wires go in-between
each cap. again this is not necessary and the same thing can be accomplished with just one large cap like a 100uf
click image to
view larger
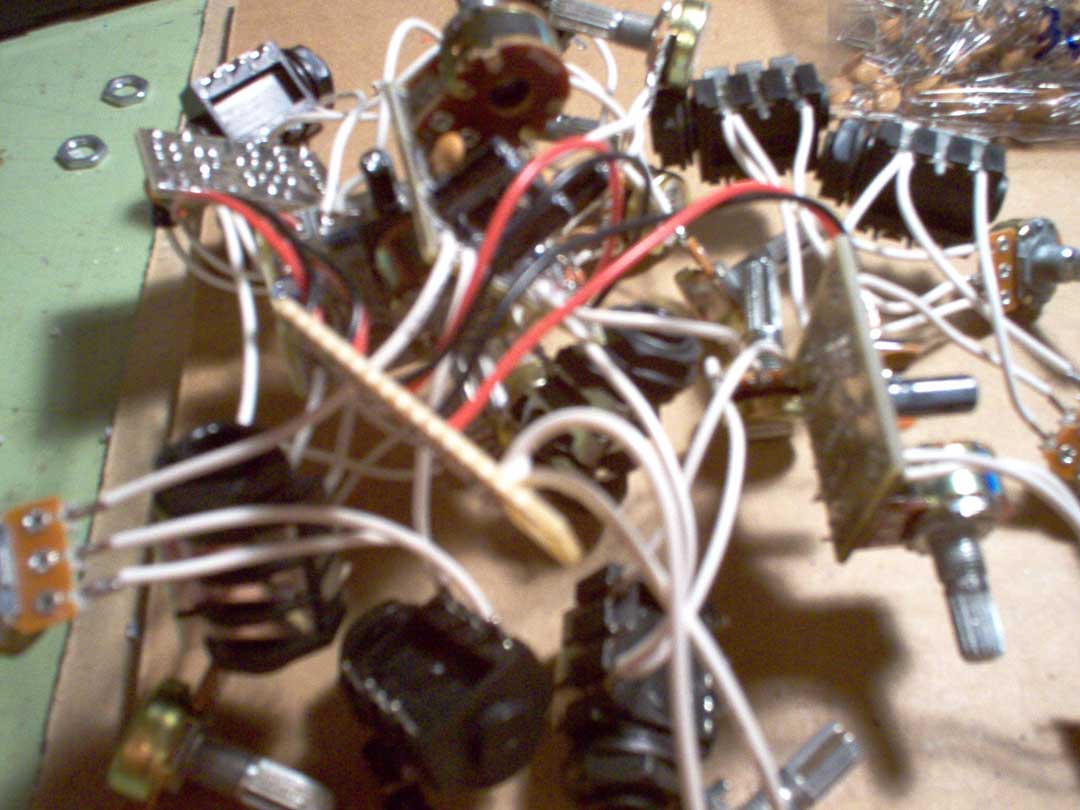
what a fucking mess.
click image to
view larger
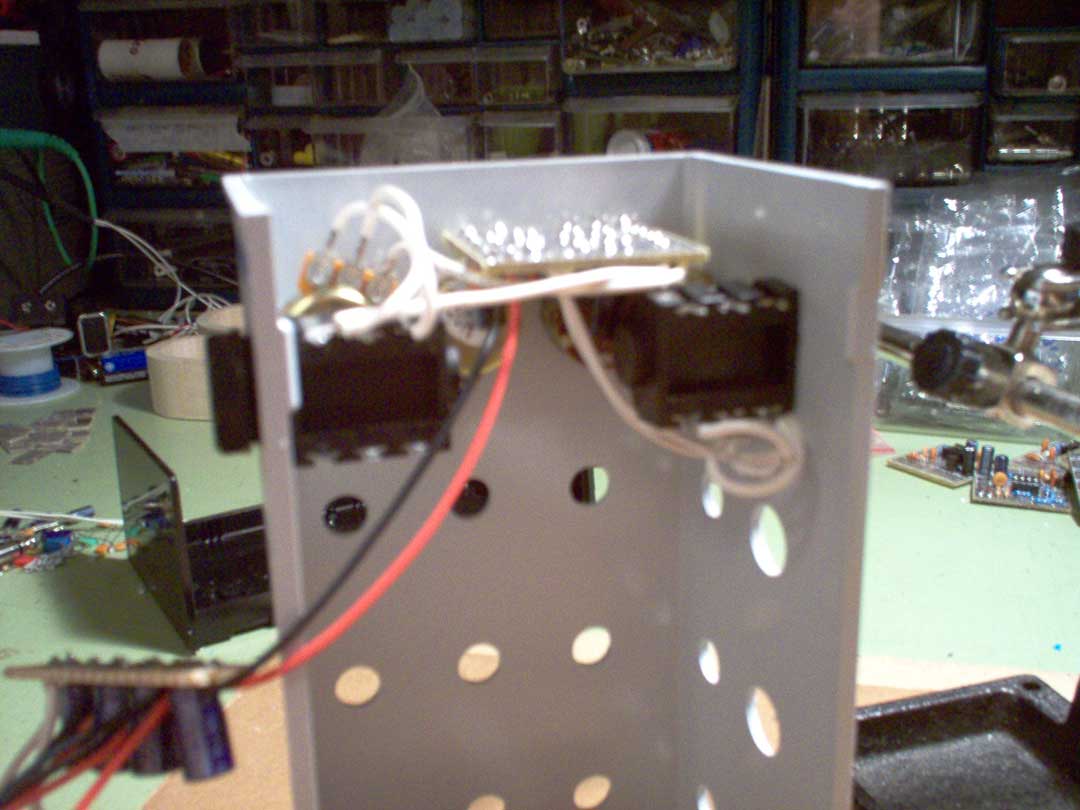
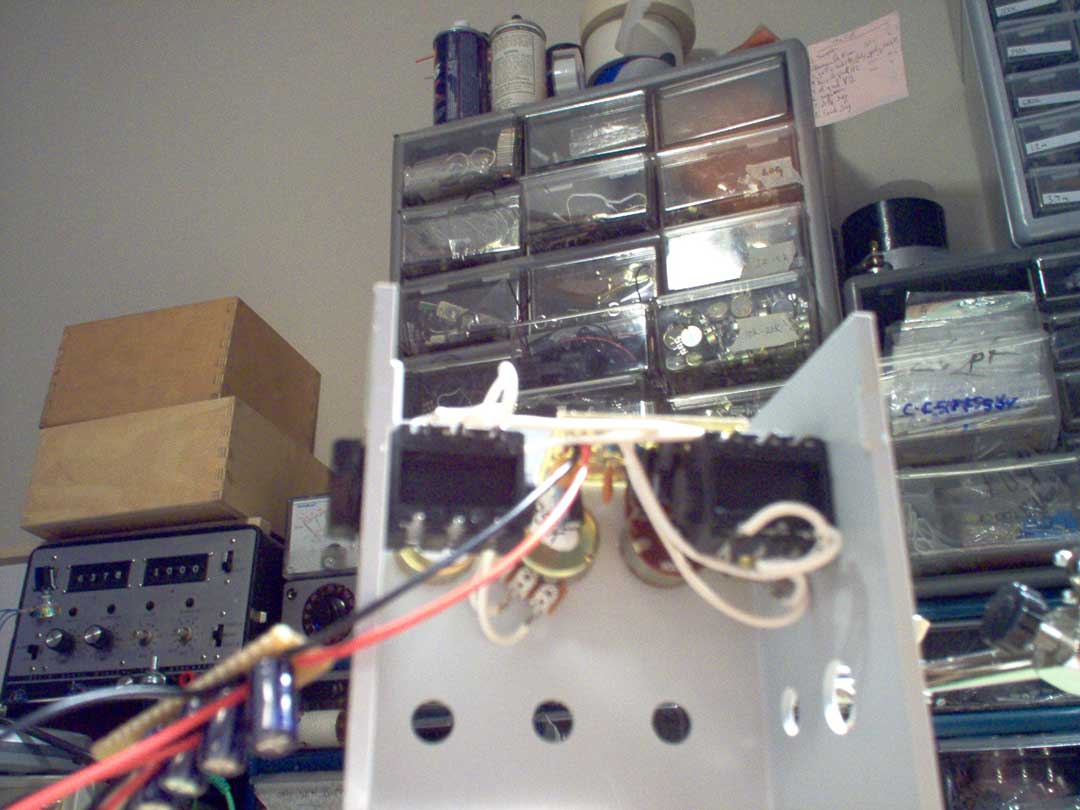
then you drill all of your holes, finish your case
and get organized so you can get all of this to fit
in there. this is what a single drench looks like when
packed inside of the case.
click image to
view larger
and the other side.
click image to
view larger
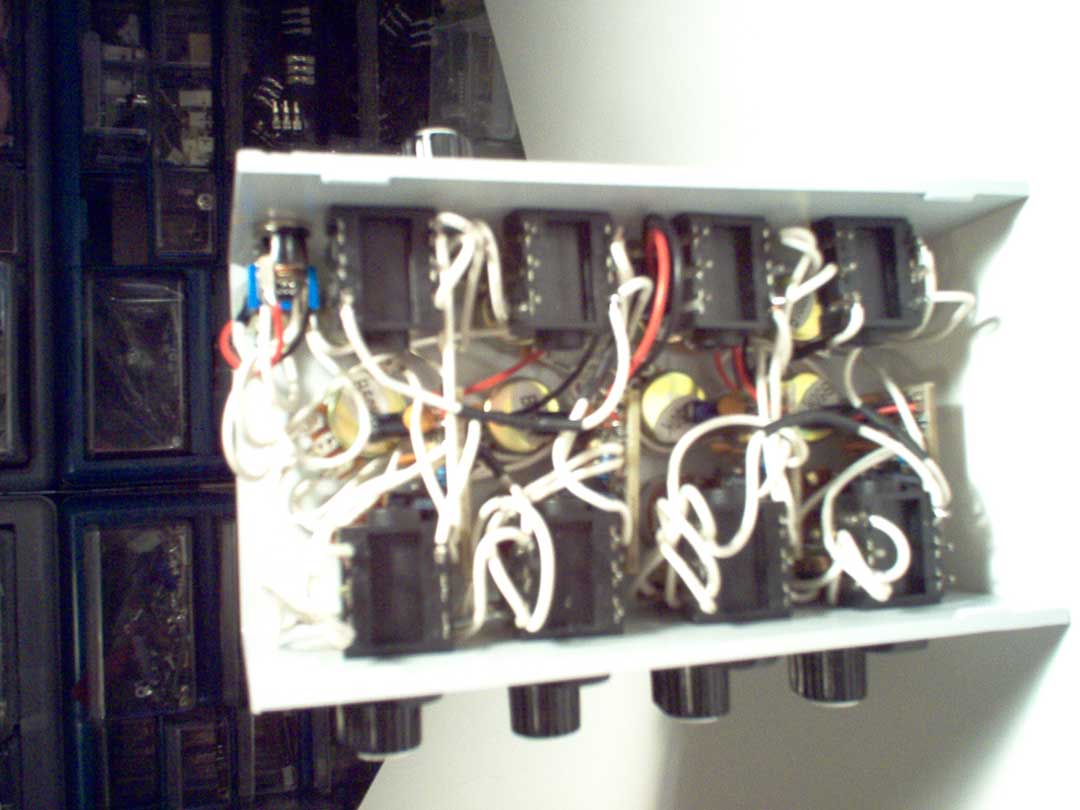
and here you can see all four installed. i couldn't
have hoped for it to fit any better.
click image to
view larger
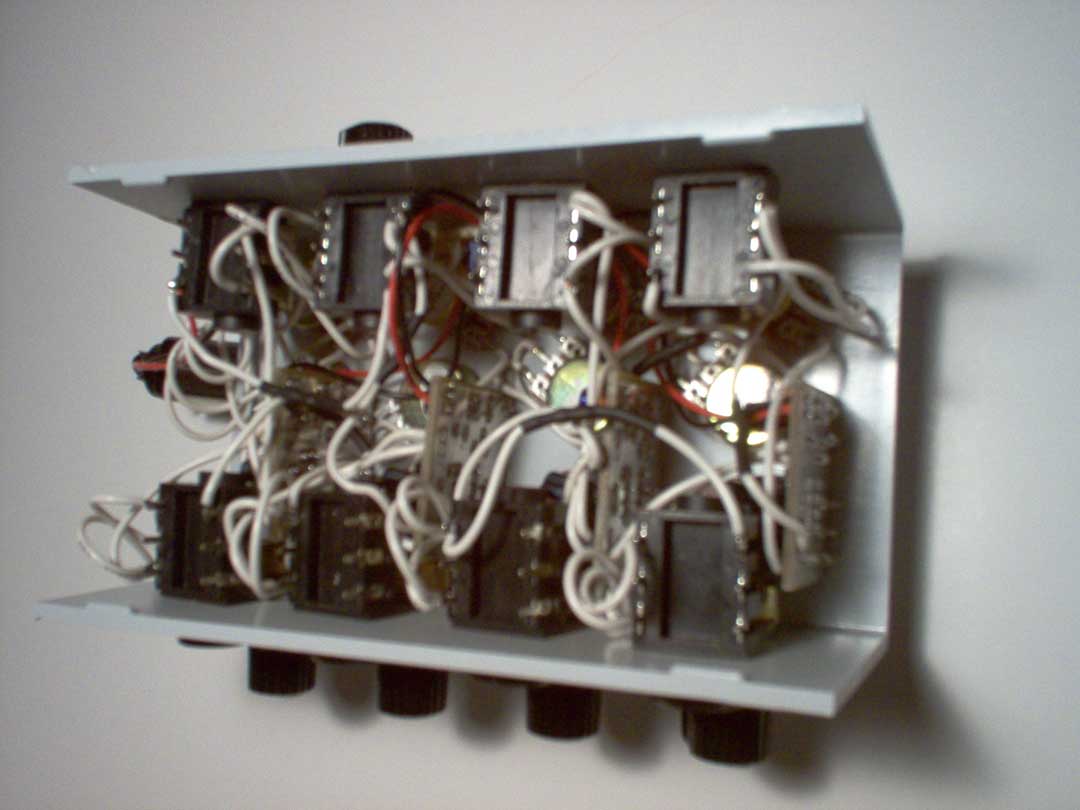
another angle.
click image to
view larger
the cramped power section.
click image to
view larger
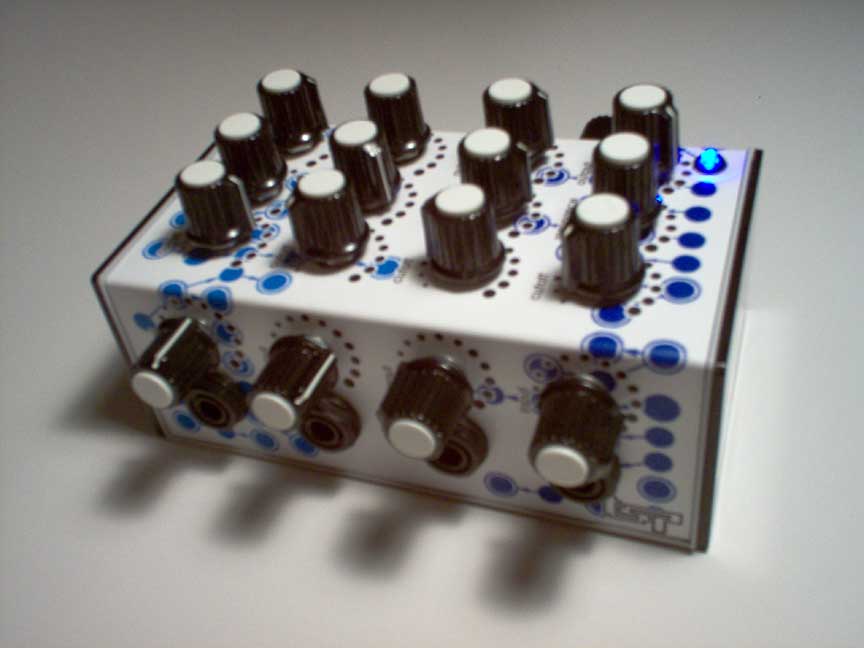
and here is the finished product which
you can see more of HERE i
was shocked when i measured out the current for all
four of these and the meter only showed 3ma !!!!!
i double checked it and its right. that means
you can run this off of a single 9v battery for about
220 hours ( about 9 days ) solid until it drops but
since the drenches will work down to 3vDC i'm not sure
how long it will really last. i also did some fancy
stuff with the switching input and output jacks that
i explain HERE so that you
can use it as a dual stereo parallel filter too with
no extra cables, but i'm not going to bother you with
that now. if you want to know... ask
please feel free to contact me
if you have any questions or visit the forum here |